
Why Health Freaks Never Throw Away Pineapple Peels (And Why You Shouldn’t Either!)

Enjoy pineapples? Here’s what you should do with the leftover peels
Pineapples are one of the most popular fruits around the world. They are used for both culinary and non-culinary purposes. The plant used to be found only in South America, but nowadays you’ll find them growing in greenhouses and on tropical plantations around the world.
The fruit is usually one of the first ones people think of when they think about tropical fruits. This makes it a common treat during warm summer days. The sun and a nice slice of sweet pineapple seem to go hand in hand for a lot of people.
But did you know that you can use the peels too? Trust us, you’ll want to stop throwing them away once you find out what you can use them for. Continue on to the next page to find out!
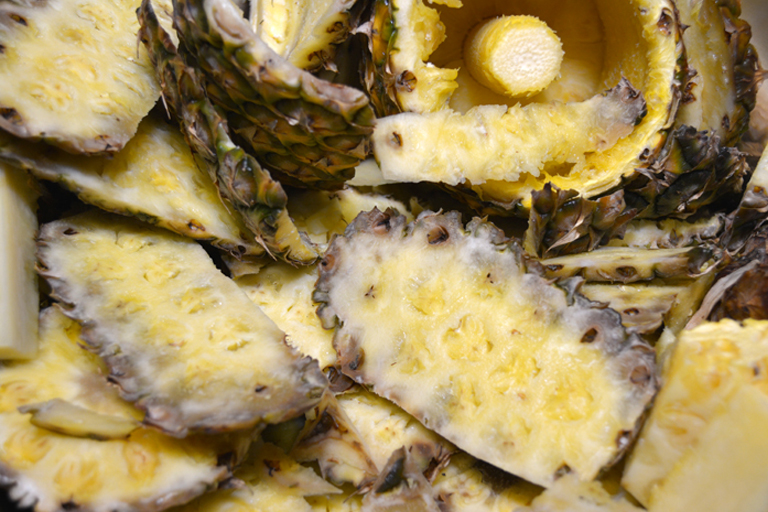
Pineapple peels
Alright, so the sun’s out and you’re craving a tropical snack. You go to the store and get a fresh and juicy pineapple. You peel it and cut the flesh into bite-sized pieces. That hits the spot! But now you’re left with a load of seemingly inedible peels. You’re probably tempted to throw them away, but what if we told you that you can actually get a use out of them? They are super healthy and will boost your immune system.
On the next page we’ll tell you what you can do with them.

Here’s what you do
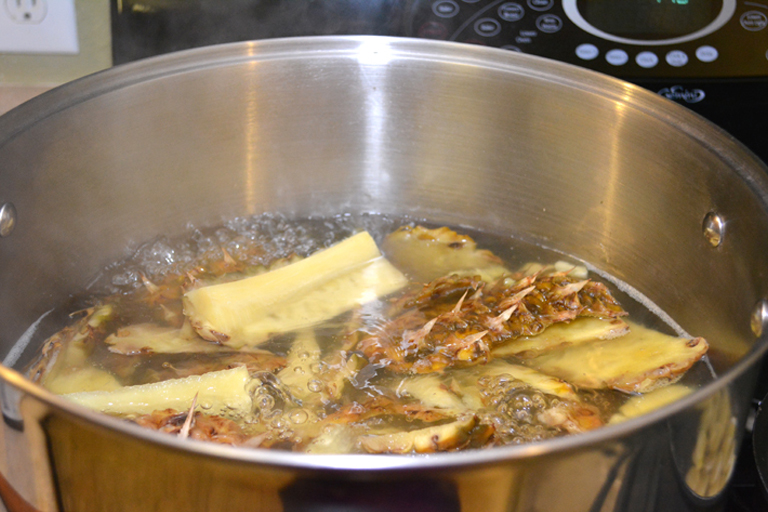
Grab a pot and fill it with water. Take the pineapple peels and add them to the water. Next, you’ll want to bring the water to a boil. This should only take a few minutes. Once the water is boiling, you’re ready for the next step.
Continue on to the next page to find out what to do next.
Simmer
Once the water has reached its boiling point, turn down the heat and let it simmer for 20 minutes. Did you know that pineapple peels are chock full of nutrients? They are rich in Bromelain, which is a secondary metabolite that aids in digestion. They are also a great source of Vitamin C, which helps boost your immune system.
After the peels have been simmering in the water for 20 minutes, you’re ready for the next step. Continue on to the next page to find out what to do next.
Next step
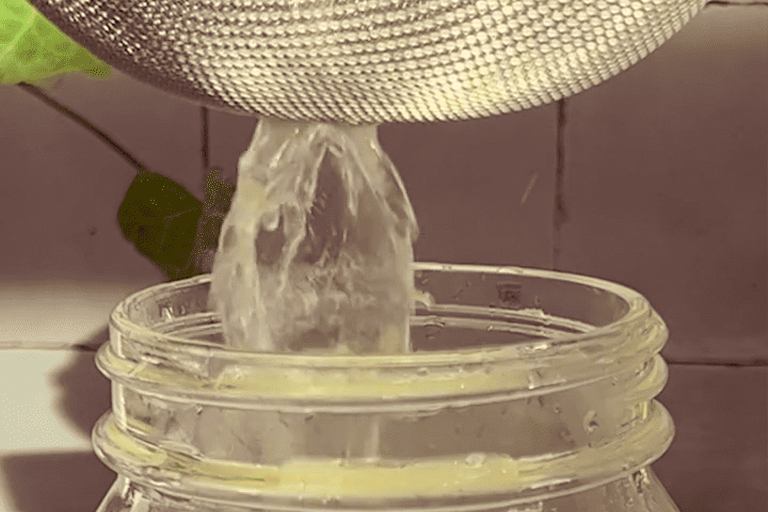
What happens during the simmering process is that the powerful nutrients inside the inedible pineapple peels are being transferred over into the water. Next, you’re going to need a strainer. Place it on top of a container and pour the contents of the pan into it, straining the liquid out.
Now that you have a container full of the yellow liquid, you’re almost there. Continue on to the next page to find out more.
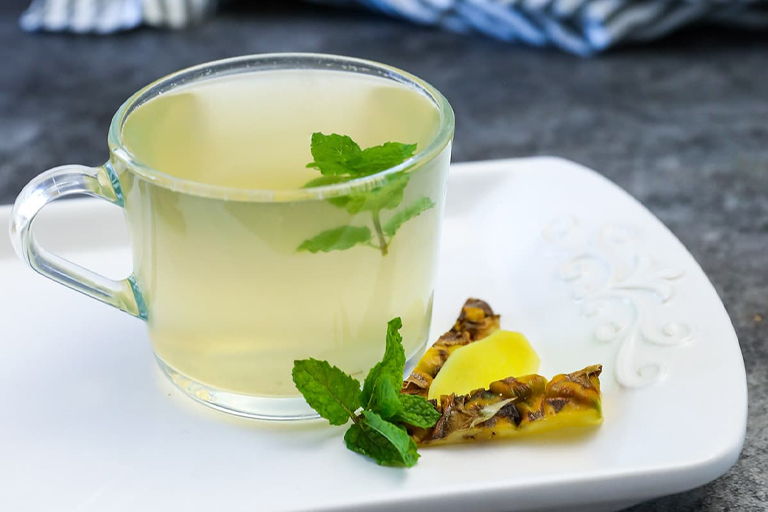
Pineapple tea
This amazing liquid is full of the nutrients that we talked about before. Bromelain, Vitamin C and even a mineral called Manganese. You’ll basically have just made pineapple tea. This drink helps with digestion, strengthens your teeth, is good for your skin, increases the amount of red blood cells in your body and reduces inflammation.
Wow, that’s a lot of benefits for a cup of tea! But we’ll admit, it’s not the tastiest drink out there. On the next page we’ll tell you how you can improve the experience of drinking it.
Add in this substance
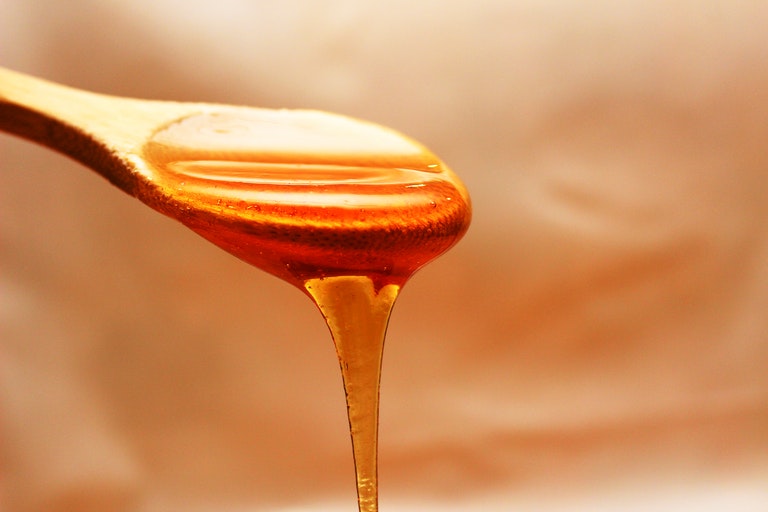
In order to make the experience of drinking pineapple tea a bit more of a thing to look forward to, you’re going to want to add a sweetener. We suggest you add some honey to a mug or cup before you pour in the pineapple tea. You’re now ready to reap the benefits of this extremely healthy drink!
But how do you store it? We’ll tell you on the next page.

Storing the tea
You can pour the leftover pineapple tea into an air-tight container and store it in the fridge. You can either enjoy it hot or cold, or even add it to some of your favorite tropical dishes. Why not use it to water your plants? They will absolutely love the nutrients!
Want more environment friendly fruit hacks? On the next page we’ll tell you how to grow a lemon tree using a glass of water.
Wow, so it’s this easy to grow a lemon tree?
Lemons are one of the most popular fruits around the world. They are used for both culinary and non-culinary purposes. The juice and zest add great flavors to different kind of dishes, from beautiful main courses to super tasty desserts.
Although back in the day, lemons only grew in a specific geographic region, in parts of India, Myanmar and China, you can now grow your own lemon tree at home. Crazily enough, all you need to get started is… A glass of water.
Continue on to the next page to find out how you can use a glass of water to grow a lemon tree!
Getting started
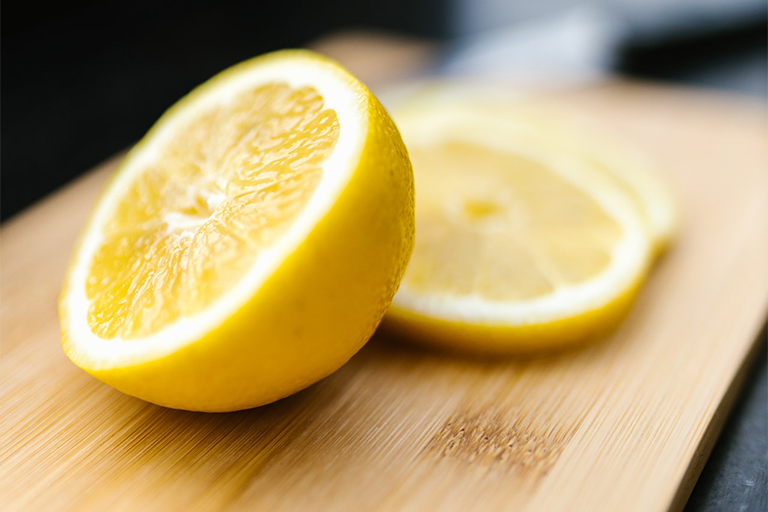
To get started, you don’t need to be a farmer or any kind of culinary genius. All you need to do is go to a store where they sell lemons. Just get a lemon and go home to start this amazing process. Cut the lemon in half and take out one of the seeds. Can you believe that this seed is going to grow into a lemon tree?
On the next page we’ll show you how to grow this seed into a lemon tree, using nothing but a glass of water.

Glass of water
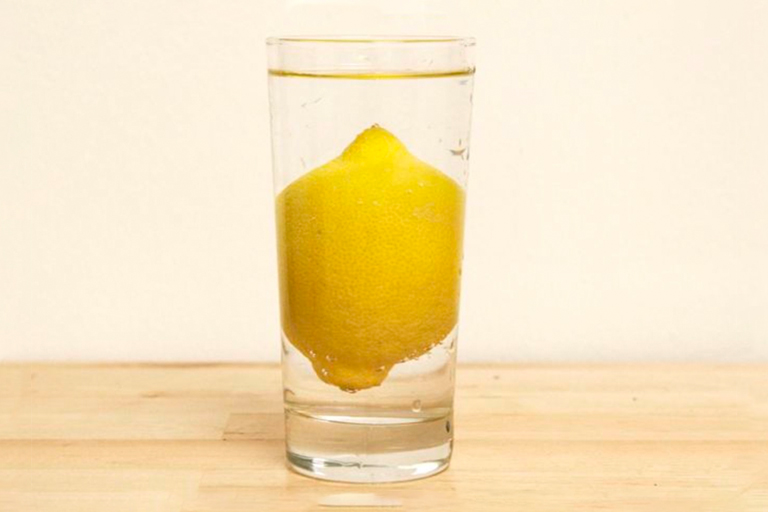
Next, you take a glass and fill it with water. Make sure to use uncarbonated water. Now all you need to do is drop the lemon seed into the glass of water. Leave it in there for one hour, then grab a piece of paper towel. Wet the paper towel (you can use the glass) and lay it out on a table or counter. Now you’re all ready for the next step on your way to your very own homegrown lemon tree.
The next step is so simple, it’s actually mind-blowing. Read on on the next page.
Use the paper towel
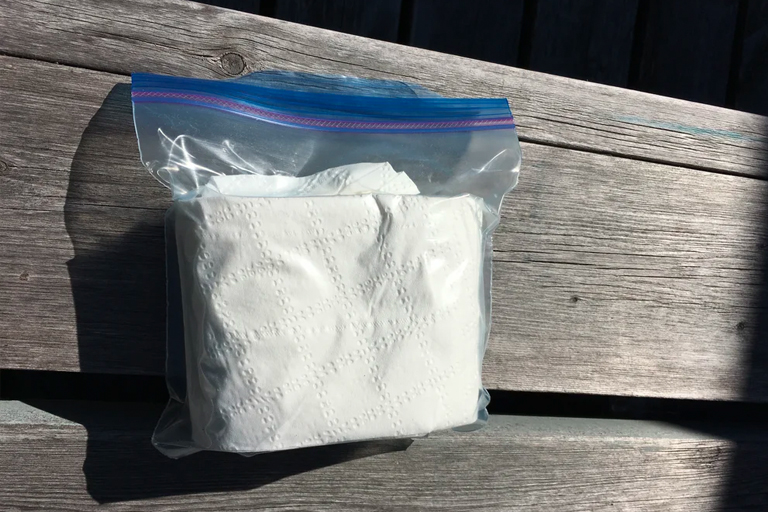
Now take the lemon seed out of the glass of water and lay it onto the wet paper towel. Carefully fold the paper towel over the seed a couple of times, until you have a small bundle. Place the wet towel with the lemon seed in a ziplock bag and store it somewhere dark, like in a cabinet.
After a week, you’ll have something amazing. Check out the next page to find out what.
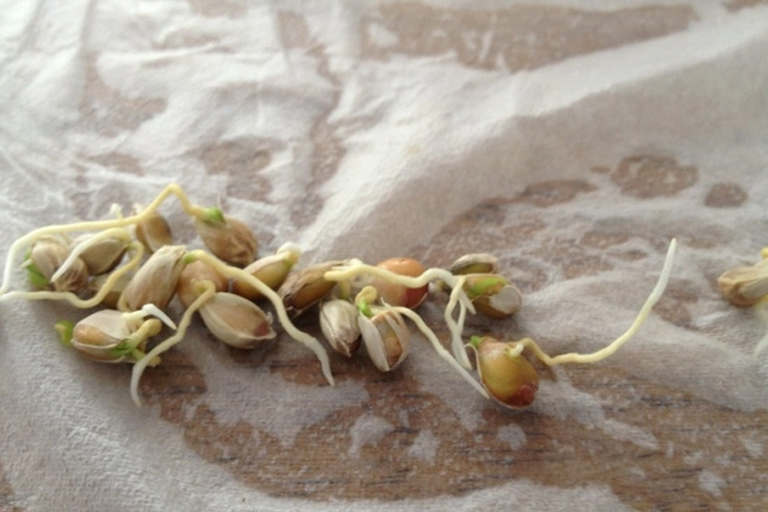
Sprouted
After a week, take the ziplock bag out of the cabinet and take out the paper towel. Unfold it and you’ll see that your seed will have sprouted! Next, you’ll want to give it plenty of room to grow out into a lovely lemon tree.
On the next page we’ll tell you what to do next.
Next step
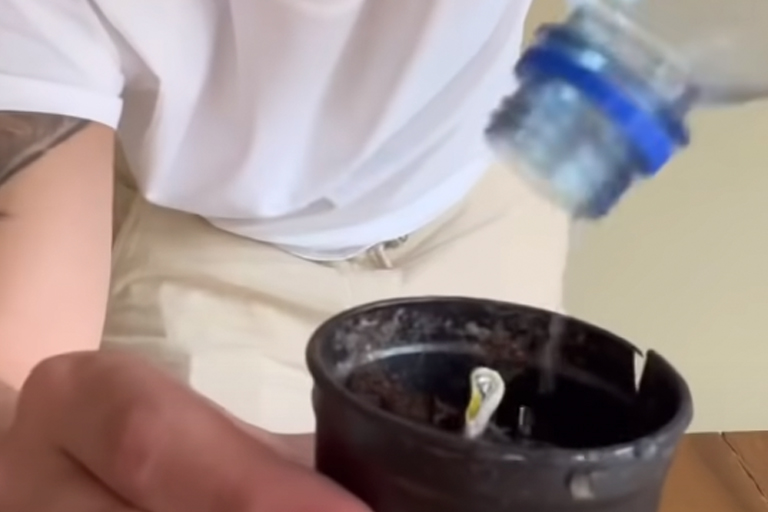
Grab a small pot of soil and plant the seed tail-down. Grab a bottle of water and water the seed, getting the soil nice and moist. Now you’ll want to do something strange: cut off the top of the water bottle and use it to cover the seed. Why?
We’ll tell you on the next page. Continue on to find out.
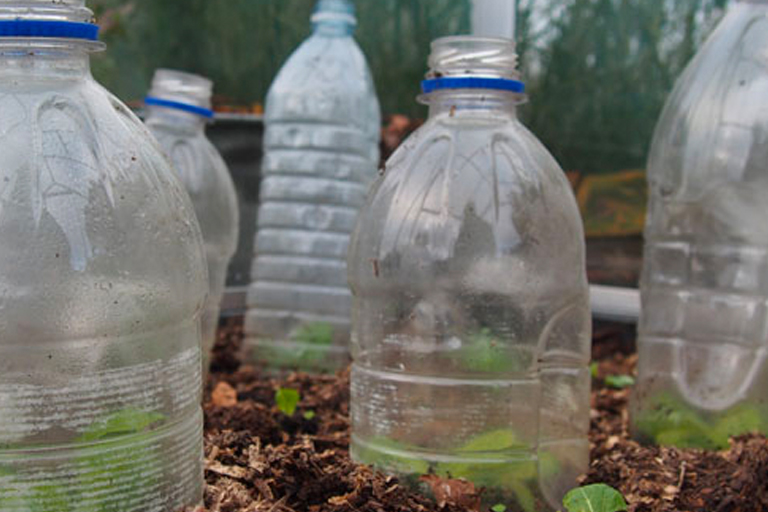
Homemade greenhouse
Covering the seed with the top of a water bottle creates a humid environment, which is just what your seed will need on its first steps into becoming a lemon tree. It’s basically a homemade greenhouse, which will also shelter your seed from any external influences that might be bad for it.
Pretty soon, you’ll start seeing the results. We’ll continue on the next page.
Source: https://www.tips-and-tricks.co/various/pineapplepeels/